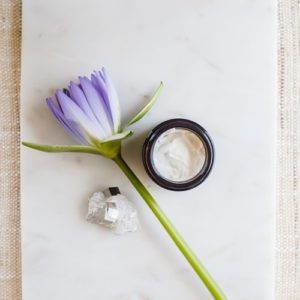
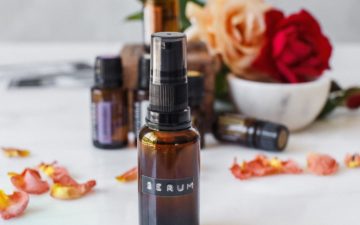
An all-natural DIY face cream that is absolute perfection every time. Made with organic meadowfoam and raspberry seed oils, with skin-supportive essential oils (vegan, no beeswax).

Have you tried making your own face cream before? If not – give this recipe a go – it’s actually a lot easier than you may think!
Basically – you take your heated oils, combine with water, blend until they emulsify, add your preservative, and essential oils to your liking. Bottle, label and date, and you’re done!
For this recipe, I’ve used a combination of oils (meadowfoam and raspberry seed) that are rich in antioxidants, are deeply moisturising, and have good stability. They are more suited to normal, dry and even mature skin types.
If you have problem skin, feel free to substitute for something like sea buckthorn, borage, camelia, or strawberry. I will be sharing a second face cream that is specifically designed for problem skin soon.
Shea butter is used to add a touch of luxury, and the essential oils I’ve chosen all support the skin in some way.
[bctt tweet="All natural DIY Face Cream with essential oils – find the recipe here." username="laurenglucina"]
So let’s have a look now at,
- Must-have equipment for making natural skincare products
- Ingredients for our DIY face cream, and
- How to make it!

DIY face cream basic equipment
- Alcohol based sanitising spray
- 1x 100ml (3.38 oz) amber glass jar
- 2x pyrex jugs or glass beakers
- Large saucepan
- 1 candy thermometers, or a non-contact infrared thermometer
- Immersion stick blender
- Precision scales (to measure ingredients accurately ie two spaces to the right of the decimal point)
- Regular digital kitchen scales if your precision scale only goes to a certain weight (to weigh out your larger volumes – ie water)
- Teaspoons
Ingredients – oil phase
Meadowfoam oil Limanthes alba
- A highly stable oil, meaning it has the ability to further prolong the shelf-life of your final product
- Highly moisturising
- Prevents moisture loss
- Often used in natural sunblocks
Raspberry seed oil Rubus idaeus
- Light consistency
- Rich in antioxidants
- Rich in Omega’s 3 and 6 essential fatty acids
- Nourishing
- Protective
- Restorative to dry, mature, irritated skin
Shea butter Butyrospermum parki
- Thick, buttery
- Gives a super luxurious texture to your face cream
- Potent antioxidant and anti-inflammatory properties (due to the triterpenes, tocopherols, phenols and sterols) {source}
Emulsifying wax O
- Cetearyl olivate and sorbitan olivate
- PEG-free emulsifying wax made from olives
- Highly stable
- Able to penetrate through the deeper layers of the skin
- Anti-ageing properties, improves tone and elasticity
- Helps bring the water and oil phases together
Ingredients – water phase
Glycerine
- Vegetable derived
- Humectant (retains moisture) and emollient (softens and smooths)
Distilled water
- Non-negotiable! Water is a medium for bacterial growth, so must be distilled
Ingredients – after combining
Microcare DB
- Preservative, can also use Geogard 221
- Blend of an organic acid with benzyl alcohol
- Added once oil and water phases have been combined and cooled to below 45˚C
- Helps reduce appearance of skin imperfections
- Supports healthy cellular function
- Warm, spicy, clean aroma
- Promotes appearance of clear, healthy skin
- Balances production of sebum
- Floral, herbaceous, green, sweet aroma
- Promotes clear, smooth skin
- Reduces appearance of blemishes
- Spicy, woody aroma
- Contains the skin-loving Omega 5 essential fatty acid, punicic acid
- Soothing and rejuvenating to the skin
- Revitalises appearance of skin
- Herbaceous, fruity aroma
- Gorgeous bright blue colour thanks to the sesquiterpene, chamazulene
- Improves appearance of blemishes and wrinkles
- Rejuvenating – promotes youthful looking skin
- Herbaceous, honey, hay aroma
- Naturally cleansing
- Reduces appearance of blemishes
- Acts as a natural skin toner
- Clean, woody, spicy aroma

How to make your own face cream
First things first – sterilise all your equipment to prevent microbial growth. I use Ethasan, an alcohol based sanitiser. Spray your utensils, your jugs, and inside your jar for the finished product.
Use precision balance scales to measure out your ingredients for the oil phase, and add to a pyrex jar.
Now measure out your glycerine and water, and distilled water, and place in a second pyrex jug. Tip – 1ml of water is equivalent to 1gm – use the scales to measure this out accurately.
Place both jugs in a frying pan/saucepan. Fill the pan with boiling water, enough so that it comes up to about the same level as the ingredients in your jugs.
Using a candy thermometer, bring the temperature up to 65-70˚C (149-158˚F).
Once the emulsifying wax has melted, remove from the heat.

Place an immersion stick blender into the jug with the melted oils/butter/wax, and blend on a low speed.
Gradually pour in the water phase, and blend till the mixture has emulsified (about a minute).
Stop and leave the mixture to cool down a little, then as it starts to thicken, give it another blend until you get a whipped, creamy consistency.
Now you want to use your thermometer again, because we want the temperature to come down to about 45˚C (113˚F). At this point, add the Microcare DB (preservative), and essential oils.

Give it one last blend to combine, then let the mixture cool fully before spooning into your glass jar.
Remember to clearly label and date your cream! Hot tip from me, I give each new batch a batch number, so I can look up the ingredients in detail if needed.
That’s it!
Sourcing essential oils
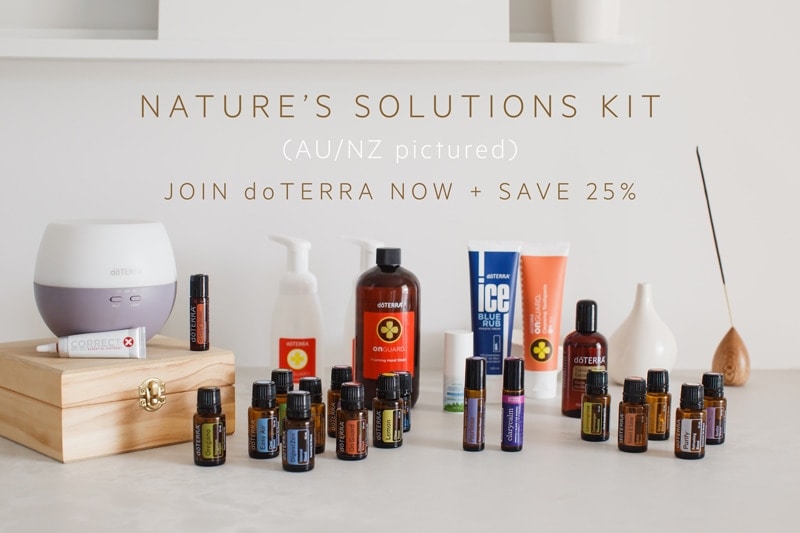
I will only ever use doTERRA essential oils, for their assured purity and potency. Opening a wholesale account is easy, and will save you 25% off retail pricing.
Joining means you get continued personal support and education from myself, and access to our vibrant community.
The best value-way to join, is to purchase a Home Essentials or Nature's Solutions Kit. Personally I'd go for the Nature's Solutions Kit as it will give you everything you need to start giving your home a complete toxin free makeover - cleaning and personal care products included!
Ready to get started? Follow my instructions here. Don't hesitate to reach out if you are after more information.

If you make and enjoy this recipe, please leave a rating below. And better yet – leave me a comment to tell me how you got on, or just say hi – I LOVE hearing from you. Follow me on Instagram, Facebook or Pinterest to see more of my everyday recipes and wellness tips.
If you’d like to chat with me about essential oils, or book in a 101 class, you can do that here. If you’re after a Naturopathic consult, read more here.
All natural DIY Face Cream
Equipment
- alcohol based sanitising spray
- 2x 100ml amber glass jar with lid
- 2 pyrex jugs or glass measuring cylinders
- candy thermometer
- precision scales
- digital kitchen scales
- several teaspoons
- immersion blender
Ingredients
Oil Phase
- 12 g emulsifying wax O
- 6 g shea butter
- 14 g raspberry seed oil
- 14 g meadowfoam oil
Water Phase
- 6 g glycerine
- 148 g distilled water
Once Combined
- 1.6 g Microcare DB preservative
- 12 drops doTERRA Yarrow | Pom essential oil (this is a blend unique to doTERRA)
- 12 drops Frankincense essential oil
- 12 drops Copaiba essential oil
- 12 drops Juniper essential oil
- 8 drops Helichrysum essential oil
- 4 drops Geranium essential oil
Instructions
- First, sterilise all equipment and utensils by spritzing with the alcohol based sanitising spray. Do not use wooden utensils.
- Measure out all ingredients for the oil phase, and add to the first pyrex jug.
- Measure out all ingredients for the water phase, and add to the second pyrex jug.
- Rest both pyrex jugs in a saucepan/fry pan, then add boiling water to the saucepan until it reaches past the height of the ingredients in the jugs.
- Use the candy thermometer to bring the temperature in the jug containing the oil phase ingredients up to 65-70˚C (149-158˚F). Any higher, and you risk oxidising the oils. Stir gently till all ingredients are totally dissolved.
- Once you reach 65-70˚C, remove both jugs from heat and place on a board. Gradually pour the water into the oil's jug, and blend on slow with the immersion blender until the mixture emulsifies (30 seconds to 1 minute).
- Stop and let the mixture cool and thicken for a minute or two, then blend again until whipped into a creamy texture.
- Use the thermometer again to measure the temperature - cool it down to 45˚C (113˚F), this could take up to 15 minutes. Then add the Microcare DB and essential oils. Blend once more to combine.
- Let cool entirely, then spoon into 100ml amber glass jars. Label with the date and ingredients. Enjoy!
Notes
- You can use an electric beater or even an electric hand whisk in place of the immersion blender, but this truly works best and they aren't expensive.
- Use any combination of the essential oils I've listed - work to 30 drops per 100ml recipe, which is a 1% dilution.
- This recipe makes 1x 100ml pottle, a convenient size if you're just making it for yourself, however I've found doubling the batch is slightly easier to manage when it comes to whipping.

Ask me anything