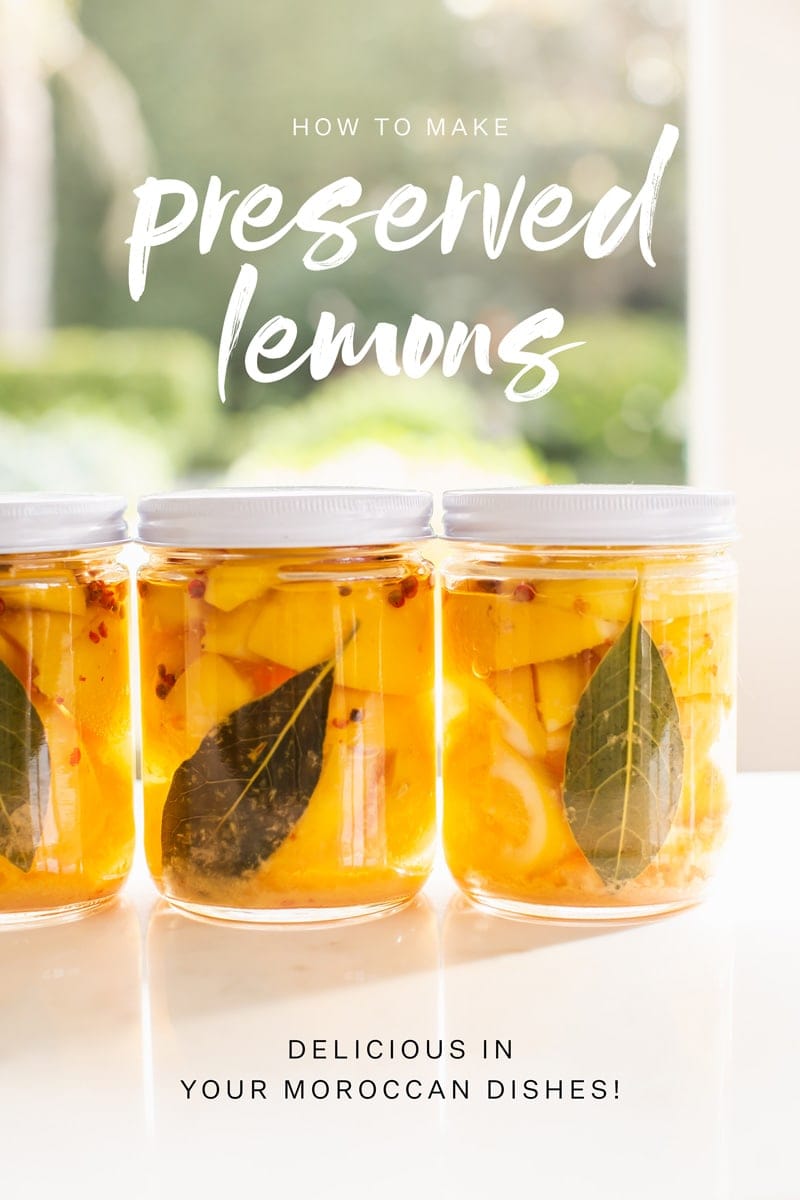
The most wonderful Moroccan-style preserved lemons recipe – with organic lemons, salt, lemon juice and spices (bay leaf and pink peppercorns). Blow your taste buds away with this intensely lemony condiment!
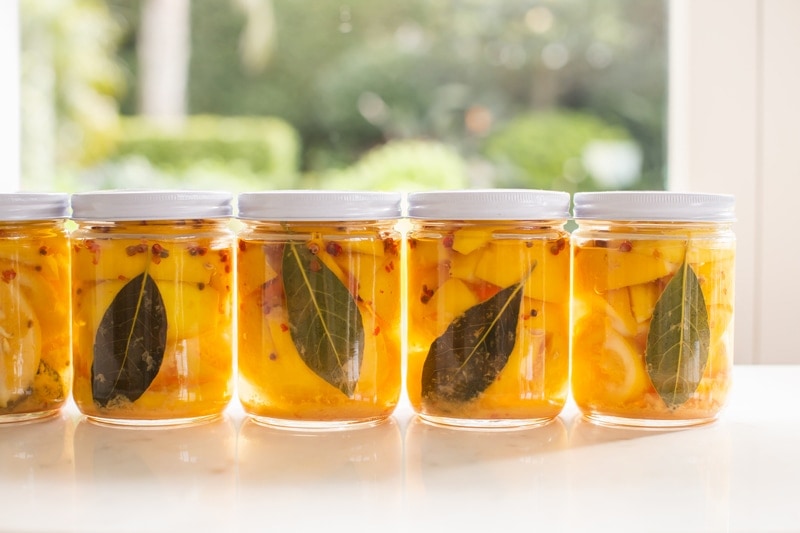
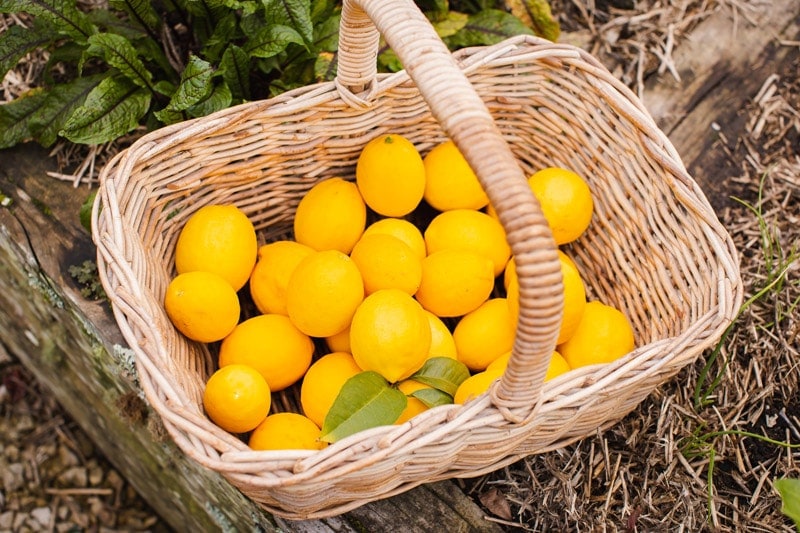
When the trees are heaving with fruit – we make preserved lemons!
Preserved lemons pair beautifully with two of my favourite things: good quality, fat juicy green olives and Moroccan tagines! I love their intensely lemony, slightly salty, puckery-ness (is that a word?) and the pop of colour they bring to a dish.
They couldn’t be easier to make, either – all you need are lemons, salt, a canning jar, and, if you’re feeling fancy, a few key herbs and or spices (I’ve gone with bay leaf and pink peppercorns).
Leave it to ferment for a month, then you have pure deliciousness at your fork-tip.
[bctt tweet="Moroccan-inspired Preserved Lemons Recipe - with bay leaves and pink peppercorns. Pimp your tagines/pilafs/salads! " username="laurenglucina"]
Before we begin, we're after Organic Lemons, baby!
Conventional lemons have wax on their skins, so they won’t be able to ferment. Organic Meyer lemons are my pick – all the better if they’re home-grown!
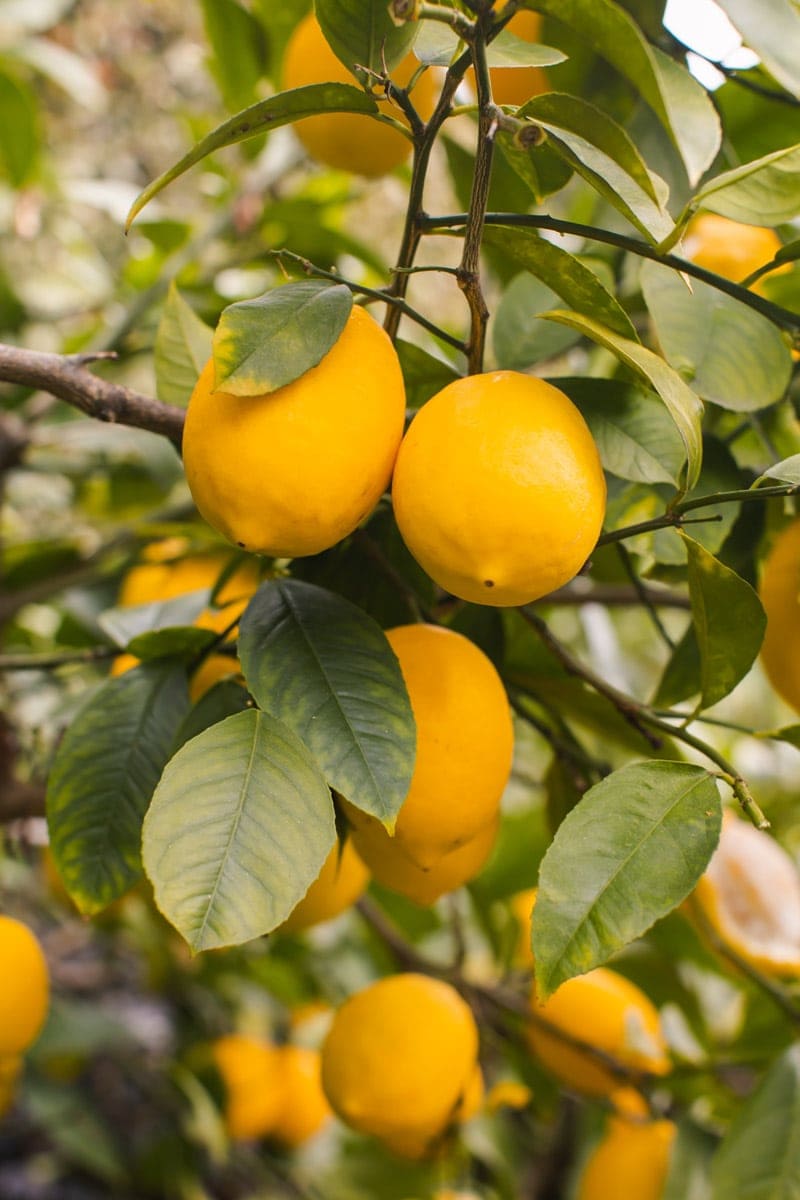
Lactic Acid Fermentation of the Lemons
Salted lemons are an example of lactic acid fermentation. When making preserved lemons, you combine them with salt in a jar, then cover entirely with lemon juice – effectively submersing them in a salty, acidic brine.
This salty environment is favourable to Lactobaccilus bacteria, but unfavourable to ‘bad’ bacteria, yeasts and moulds, preventing their growth.
The Lactobaccilus then start to consume the fruit sugars, turning them into lactic acid. Lactic acid is a natural preservative, as it further inhibits the growth of harmful bacteria.
Once the lemons have fermented for long enough (let’s say around a month, or even longer), you can transfer the jar to the fridge, to halt any further bacterial action.
Benefits of consuming Preserved Lemons
As with consuming other lacto-fermented foods – you’re getting a small amount of the friendly Lactobaccillus genus of bacteria into the gastrointestinal tract.
Lactobacilli are natives to the GI tract, they play a role in maintaining immune health and modulating inflammation. This journal article has a nice review of LA fermentation of fruits and vegetables with regard to human nutrition and health.
They are also extremely important to gut health, as they turn dietary fibre into fuel for the enterocytes (cells of the gut wall), in the form of short chain fatty acids.
Isn’t that cool – bacteria can turn fibre into fat!
How to tell when your Preserved Lemons are ready
After 3-4 weeks of fermentation, open up the jar and check the lemons – if the skins have noticeably softened, then that’s a sign they’re ready to enjoy.
How to use Preserved Lemons
Take them out the of the jar, rinse them under running water to remove excess salt and any pips, then slice them up and add to your cooking.
You can use them sliced or whole in pilafs, tagines, salads, stews, hummus, salad dressings and more. Generally, it is the pulpy fruit used in sauces, and the rind used for everything else.
Here are a few of my recipes that either use preserved lemons or would be AMAZING with them:
- Healthy Pasta Salad with Mediterranean flavours
- Eggplant Salad with Lemony Garlic Dressing
- Chickpea Vegetable Tagine
- Chickpea Sorghum Salad
- Warming Vegetable Stew
And for more ideas, there is an excellent round up here of some great dishes using preserved lemons to try.
Preserved Lemons Recipe – Step by Step
It’s an art rather than a science – it all depends on the amount, size and juiciness of your lemons. But here’s a bit of a visual step by step of our preserved lemons recipe, regardless.
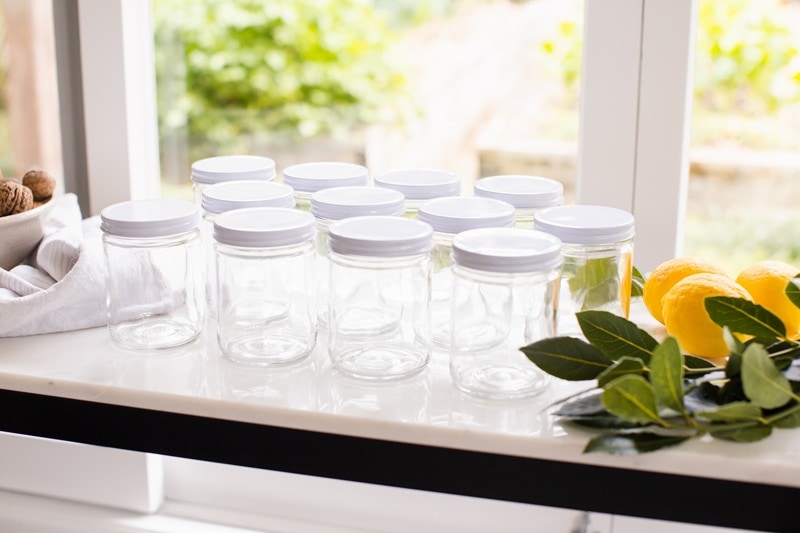
First you want to get a supply of sterilized canning jars – or sterilize your own. To do this, clean the jar with hot soapy water, then stand it in the sink, and fill with freshly boiled water. Leave it to stand for ten minutes, then drain.
Note: in the recipe card at the bottom of this post - I've listed 1x 1 litre/quart jar - whereas you'll see in the photographs here I used multiple 500ml / 0.5 quart jars. This is because I had a gazillion lemons and the smaller jars are fab to share with fam and friends.
Right - now we can begin! Start with sprinkling a tablespoon of Himalayan rock salt into your jar, then prep the lemons.
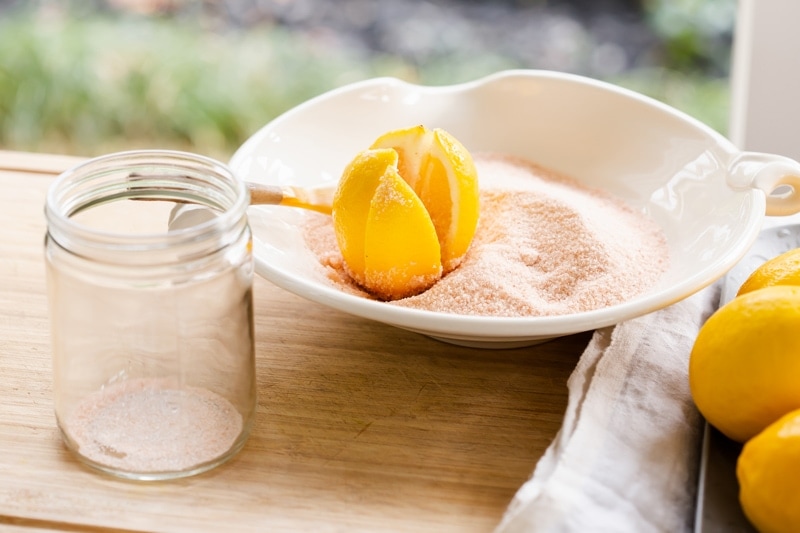
Wash them and pat dry, then trim the nub off from one of the ends. Depending on how fat the lemon is – slice it into quarters or sixths – leaving about 1cm at the base.
This is the preferred way of cutting them – so that when you stuff ‘em with salt, you can squish them back together and let the salt be in close contact with the fruit.
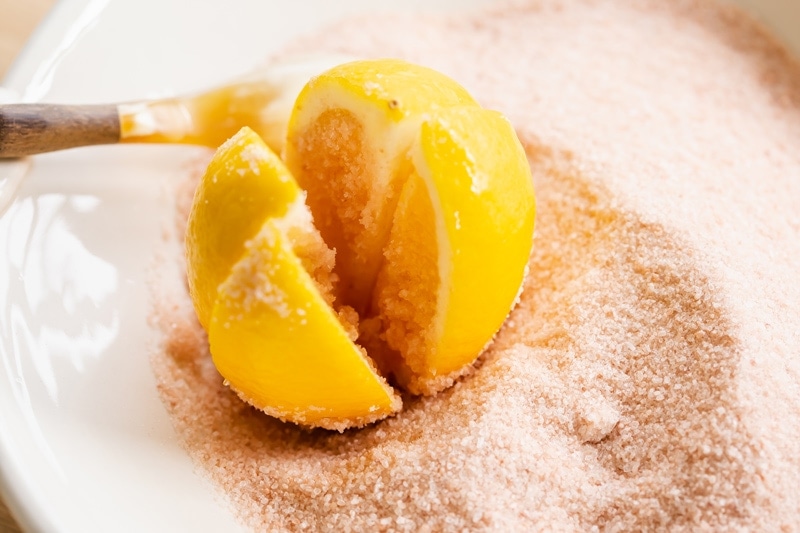
On the topic of salting – you can you either spoon salt directly into the lemon, or you can add salt to a bowl and toss individual lemon segments to coat.
Add the salted lemons, one by one to the jar, packing them down tightly as you go, to help release the juice and create a brine with the salt.
When the jar is full, add a bay leaf and pink peppercorns, then sprinkle over another tablespoon of salt.
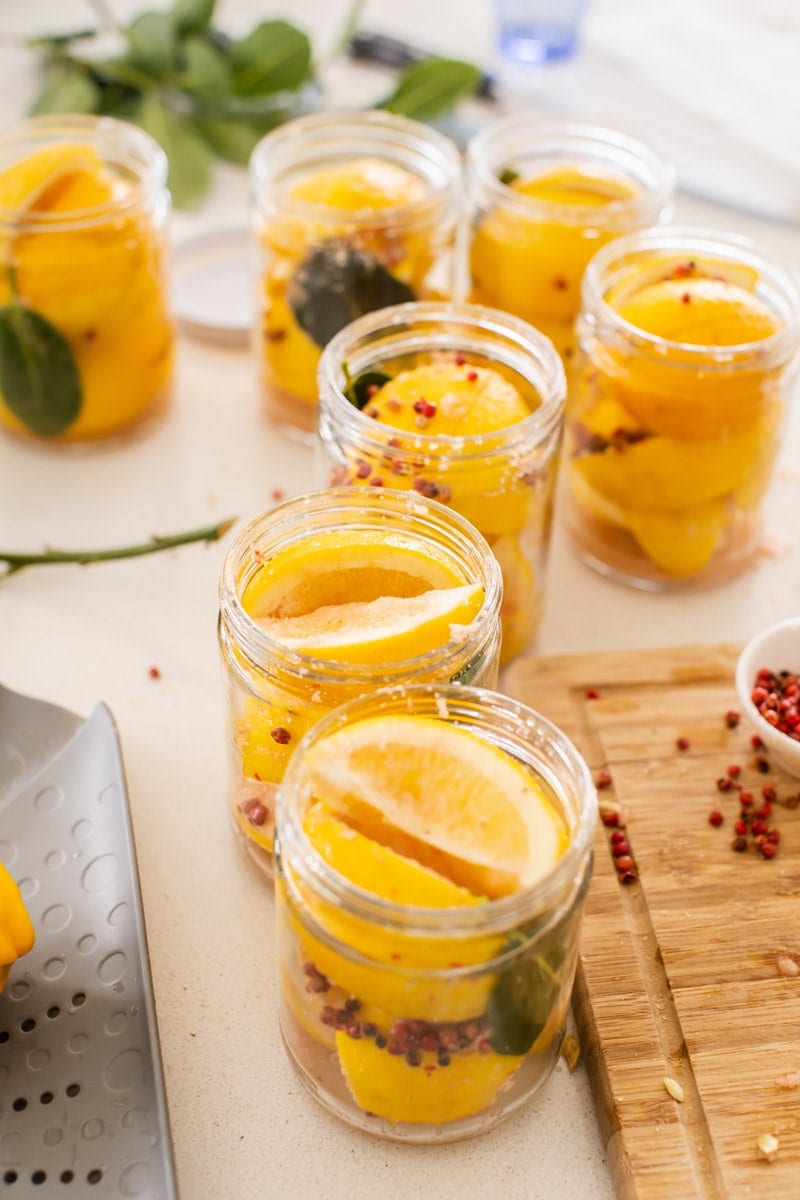
At this point, you may need to top up the jar with lemon juice, ensuring the lemons are entirely submerged.
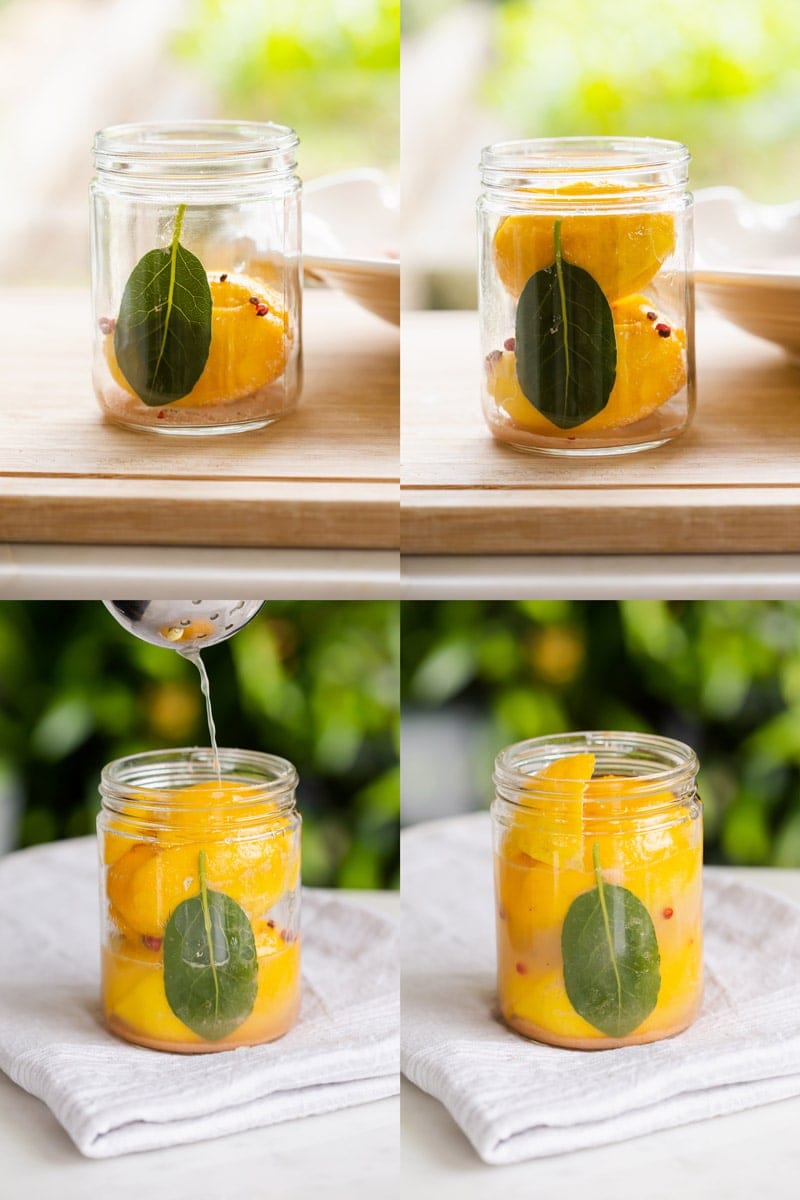
Fasten the lid and give it a little shake, then store out of direct sunlight. Check the jar periodically, to make sure the lemons are still covered entirely with the salty brine - and if they're not, squash them back down.
Once 3-4 weeks have passed, you can open them up – if the rinds have softened then refrigerate and store like this for up to a year.
Voila!
Hope you enjoy - see you again soon with something yum.
Lauren.
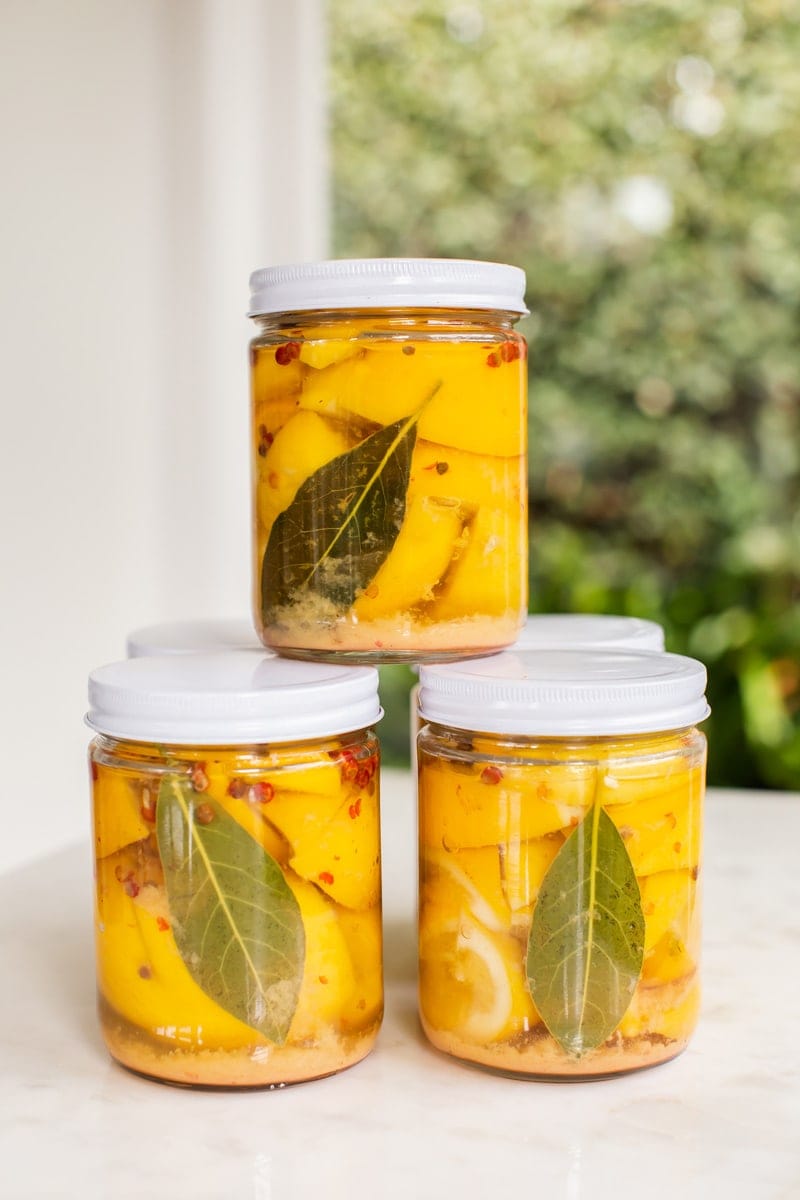
If you make and enjoy this recipe, please leave a rating below. And better yet – leave me a comment to tell me how you got on, or just say hi – I LOVE hearing from you. Follow me on Instagram, Facebook or Pinterest to see more of my everyday recipes and wellness tips.
If you’d like to chat with me about essential oils, or book in a class, you can do that here. If you’re after a Naturopathic consult, read more here.
📖Recipe
Preserved Lemons Recipe
true science to this – you may need more lemons or salt - eyeball it and all will be well!
Equipment
- 1 litre/quart sterilised jar with tight fitting plastic lid
Ingredients
- 6-8 Meyer lemons large, organic (mine weighed approx. 160g each)
- 2 tablespoons fine Himalayan sea salt to sprinkle, beginning and end
- 5 tablespoons fine Himalayan sea salt to stuff the lemons (approx. 2 teaspoons per)
- lemon juice enough to submerge the lemons
- 1 bay leaf
- 1 tablespoon whole pink peppercorns
Instructions
- Sterilise glass canning jar by filling it with boiling water and letting it stand for ten
minutes in the sink, then drain. - Sprinkle a few teaspoons to a tablespoon of salt in the sterilised glass jar. Set aside.
- Wash lemons and pat dry, slice one nub off the end. Cut the lemon into quarters or sixths depending on the size, from the sliced end downwards – but stop short of cutting all the way through. This keeps the lemons in-tact.
- Open up the lemon segments and spoon in about 2-3 teaspoons of sea salt into the centre,
then squish the segments together. Repeat! (Note: if you’re making a large
batch, and this feel time consuming – don’t worry about keeping your lemons
intact, add salt to a bowl and toss the segments in there to coat). - Pack the lemons as tight as you can into your jar, use a wooden spoon to help squash them
down and release the juice to create a brine. - Add one bay leaf, sprinkle pink peppercorns over the top, and an additional tablespoon of salt.
- Top the jar off with fresh lemon juice, so the entire contents is submerged – right up to
the lid. Cap, label and date. - After a few days, add more lemon juice if needed. Store somewhere out of direct light.
- After one month, the lemons are ready to use – you will notice they have softened and
changed colour. Rinse under running water to remove excess salt before using.
Notes
- Choose organic lemons as the conventional ones have a wax coating which will prevent fermentation – Meyer are preferred.
- Bay leaf and peppercorns are optional – experiment with other flavours like cinnamon, coriander seeds and fennel.
- The harder you can pack/squish the lemons down the better – it will mean you need to use less additional lemon juice.
- Keep the lemons submerged in brine at all times, and make sure the brine reaches all the way to the top.
- Use a very well-fitting plastic lid – not metal – you don’t want it rusting and tainting your batch!
- Lemons are ready when they soften considerably.
- Store in the fridge for up to a year.
- Nutrition panel is an estimate only - it is impossible to calculate the sodium content as most of the salt will be rinsed off before you eat the lemons.
Nutrition


Ask me anything